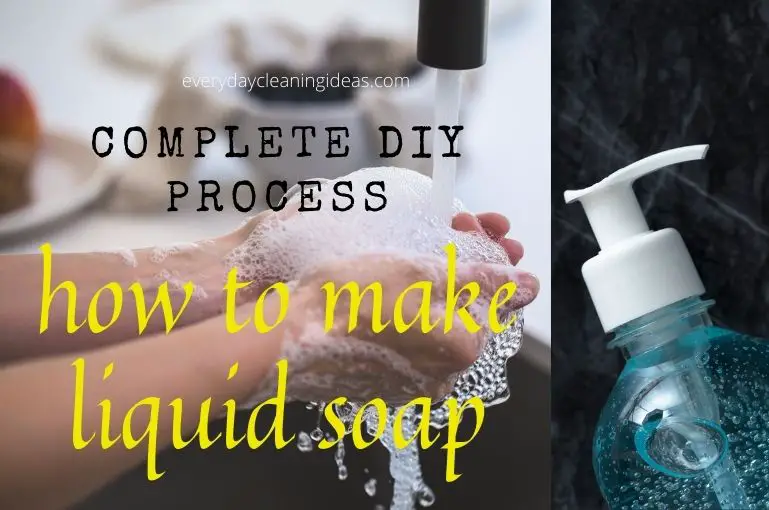
You don’t have to buy your liquid soap from the supermarket, did you know that? Here’s how to make liquid soap at home.
As a regular reader of my blog, you would know that I simply adore trying out DIY solutions for the products I use at home. This helps me in two ways. One, I know exactly what ingredients I’m using, and two, it helps me channel my creativity into a productive project.
I don’t want to expose my little children to harmful synthetic chemicals if I can avoid it. So making soap at home is an easy way to ensure that they only come in contact with organic and natural ingredients.
Now, making home-made soap is a tiny bit harder than it sounds. You need to be extremely careful with your measurements and make sure to follow the steps to the T.
I have experimented with bar soaps, gel soap, shampoos, and liquid soaps in my quest to perfect my recipe. In this article, I lay out detailed instructions of what works best for me. Here’s how to make liquid soap from scratch – tried and tested so you can be sure that it works perfectly.
Basic Reaction Of Soap-making
Here is a little refresher for soap-making beginners before we learn how to prepare our own liquid soap. If you already have some experience with DIY soaps under your belt, skip right ahead to the recipe.
All soaps are made from a basic reaction between oil and an alkali. The type of alkali used depends on the kind of soap you want to make. Bar soaps need a sodium hydroxide base, whereas liquid soap making needs a potassium hydroxide base. Potassium hydroxide or KOH is a type of lye that you can easily procure from your local drug store.
So, that is the liquid soap base. The second crucial component is oil. I prefer using a mixture of oils – depending on how strong I want the soap to be. You need up to four types of oils, and I find that a cocktail of coconut oil, olive oil, rice bran oil, and sunflower oil works best.
First up, let’s learn the basics of the liquid soap recipe. I will explain how to make variations to this in the end.
Ingredients – What You Need and How Much
● Potassium hydroxide (KOH) – 9 ounces
● Oils (unrefined coconut oil – 10 ounces, extra virgin olive oil – 10 ounces, rice bran oil – 3 ounces, sunflower oil – 5.5. ounces)
● Extra oil base (soybean oil for detergent or dish soap, grapeseed oil for shower gel or liquid hand soap) – 13 ounces
● Distilled water – 85 ounces
● Liquid glycerin ( I prefer using the organic vegetable kind) – 16 ounces
● Essential oils (like jasmine, lemongrass, vanilla, eucalyptus, etc. for fragrance) – 3 ounces
● Organic colorant or dye – 5-10 drops
Equipment – don’t worry, you don’t need any industrial tools here!
● Stainless steel or thick plastic bowl for mixing the KOH
● Slow cooker
● Kitchen thermometer
● Kitchen scale
● Measuring spoons and cups
● Hand blender
● Large whisk
Steps To Follow
1. Prepare the lye solution
● Take out 25 ounces of distilled water in a large bowl.
● Add the KOH slowly. You might notice some bubbling in the volatile solution. Don’t be alarmed – just make sure that your bowl is large enough to avoid spilling.
2. Heating the oils
● Add all your oils (measured accurately by weight) to your slow cooker.
● Heat till the mixture is thin and runny. Be careful not to overheat and burn the oils.
● Add the lye solution carefully into the hot oils.
3. Blend and heat
● Mix the solution with a steel ladle. It might look like the water and oils would never mix but keep at it for 5-10 minutes.
● Switch to the hand blender once you see the first signs of emulsification and blend for 5 minutes.
● Leave the pot on high heat for 40 minutes, and then turn the heat to low.
4. Testing the paste
● The oil-lye mixture will take around two hours to heat up and get to the right consistency. Keep stirring at regular intervals.
● After two hours, the mixture becomes jelly-like and translucent. Turn off the heat and break the chunks with a whisk or a masher.
● Check for any discoloration or opaque spots. Continue heating for an additional 10-15 minutes if you see any such areas.
● To test the solution, take half a spoonful of the oil-lye solution and drop it into a small bowl of hot water. Stir for a few minutes. If the solution is entirely transparent and clear, you can move on to the next step.
● If it turns cloudy, keep heating until you get the clear test solution.
5. Diluting the soap
● Take the remaining 60 ounces of distilled water and heat to around 80 degrees celsius.
● Stir in the liquid glycerin into the hot water.
● Add the glycerin-water solution to your soap mix in the slow cooker. Mix well using a whisk.
● Keep the pot on low heat for a few hours. Keep checking in regularly. I usually keep mine for around 5-6 hours.
● Take off the heat and allow the mixture to settle and cool undisturbed.
6. Separating the liquid soap
● After allowing the mixture to settle for a few hours, you will see two distinct layers forming. The properly diluted liquid soap sinks to the bottom, while the undiluted part floats to the top as froth.
● Use a spoon or tea strainer to collect the chunky frother and transfer it to a separate bowl.
● Remove the diluted liquid soap from the slow cooker and pour into a small bowl or jar. Add the fragrance and colorant of your choice to this and mix thoroughly.
● Put the undiluted chunk of soap back into the cooker with 2-3 tablespoons of water and heat for an hour. Leave this overnight.
● By morning, all the soap would have diluted and become a thick, viscous consistency. Mix it into the other liquid soap and stir well.
And easy as that, your 100% homemade liquid soap is ready! Put it in a dispenser or an old shower gel bottle, and you’re good to go.
Now for some tips and tricks.
How To Make Liquid Hand Soap?
Handwashing is always a chore for my kids. But I found a way to make it fun and enjoyable! The more colorful and aromatic the soap, the more they enjoy washing their hands properly.
Here’s how you can tweak my original recipe to make a moisturizing DIY liquid hand soap.
Extra ingredients for hand soap
You can let your creativity run free here. Depending on how soft, colorful, or anti-bacterial you want the soap to be, you need to add a few additional ingredients to the recipe. These are my absolute favorites.
1. Antiseptic homemade liquid hand soap
Add a few drops of ginger essential oil, lemongrass essential oil, and green tea extract in the final stage of the process. These oils have amazing natural antibacterial properties and will keep your hands germ-free and smelling super fresh.
I like to add some pale green colorant to this soap to make it look at great as it smells.
2. Add some activated charcoal for natural exfoliation
Charcoal is proven to be highly beneficial for removing dead skin and dirt and giving your skin a soft, supple texture. I love to add 10 grams of activated charcoal to my liquid hand soap. This gives my hands the natural protection they need every day.
3. Make a fully organic moisturizing liquid soap
Are you worried about synthetic soaps drying out your hands and giving your skin that nasty flaky texture?
I know the best combination for cleaning your hands and moisturizing them at the same time. The key is simple – coconut oil. It is organic, economical, and loaded with skincare benefits.
I find that adding an extra ounce of coconut oil to the original recipe before you prepare the hot oil mixture is enough to infuse it well into your liquid soap. The product is a silky smooth, moisturizing hand cleanser.
Add some lavender essence to the soap since coconut oil plus lavender make for a lovely smelling combination.
4. Go for a honey and lemon flavor
You can never go wrong with the time-tested combo of honey and lemon. Add a dash of honey and lemon extract into the final mixing stage of your soap to give it that smooth, warm texture of honey and the freshness of lemon.
Benefits of honey and lemon
● Honey and lemon are excellent hydrating agents. Washing your hands with this soap will leave them feeling soft, clean, and moisturized.
● Honey has natural antibacterial chemicals that work to disinfect your hands of any pesky germs.
● Lemon juice is an organic antifungal agent. That’s why using it on your face or hands is recommended to prevent infections and sores.
● Add lemon zest to the soap to make it a natural exfoliator for your skin.
● And of course, can you resist the warm golden hue of honey in your soap? I know I can’t!
How To Make Liquid Soap From Bar Soap?
Let’s cheat a little bit in the soap making process. If you don’t have the time to go through all the steps of making soap from scratch, this method is a lifesaver.
This is how you can turn regular old bar soap into liquid soap. Half the effort and double the benefits!
1. Grate a regular bar of soap with a cheese grater.
2. Boil eight cups of distilled water and turn off the heat.
3. Mix the soap flakes into the hot water while stirring continuously.
4. Once the mixture starts to combine and become more viscous, leave it overnight to thicken on its own.
5. The next day, blend the soap until it becomes a smooth and free-flowing mixture.
6. Stir in the fragrance and color of your choice.
7. Pour into a soap dispenser, and your super quick homemade liquid soap is ready!
Note that you can make about four bottles of liquid soap from a single bar. I find this method perfect to experiment with different flavors and combinations of essential oils.
There you have it. Your definitive guide to making 100% natural, organic, and non-toxic soap in the comfort of your home.